Description
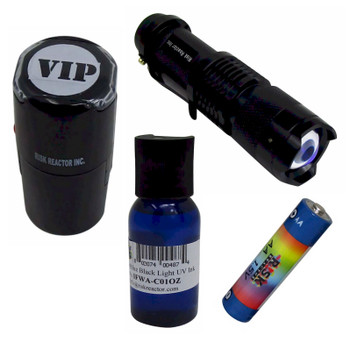
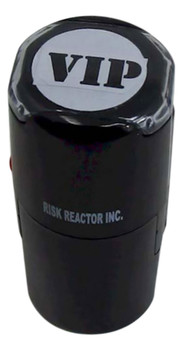
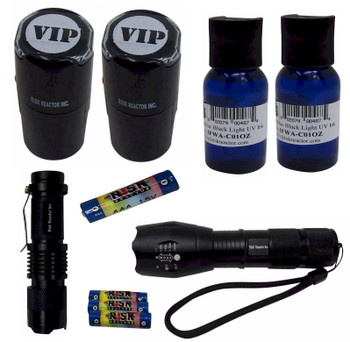
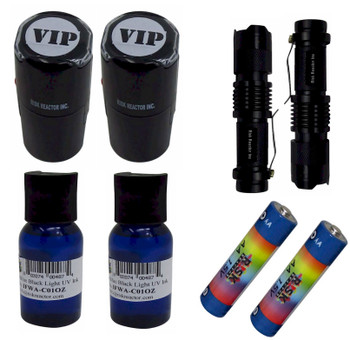
Great starter kit with super strong black light that makes the clear blue UV ink fluoresce brightly. Having one black light, stamp, ink and batteries this kit is designed for one door or exit at your event. The IFWA-C0 Cancun Clear Fluorescent Blue Ink is the brightest on the market allowing you to review the security markings faster saving you money and making your customers happy. The KIDS-B One SUPERTAC-395, 2 x CR123A batteries, RND1 Self Inking Stamper with Pad, 1 ounce of IFWA-C0 Clear Blue Invisible UV Stamping.
| Quantity KIDS-B Kit Contains. | Reorder Part Number. | Black Light KIDS-B Kit Part Description. |
| 1 | SUPERTAC-395 | Five Watt Super Strong 395 nm UV Flashlight. Quantity: 3x Chips Working voltage: 3.7V-4.2V Battery type: 2 x CR123A (INCLUDED!) or you can use 1x18650 li-ion battery (Not-included) Reflector: OP aluminum Switch type: Tail Clikie Lighting range: within 50 meters Size: 132mm (Length) *29mm(Diameter)*30mm(Lamp Head) |
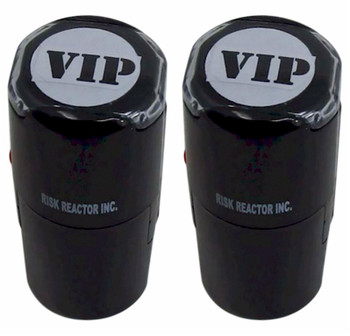
| 1 | RND1-STOCKED | Self inking stamper that fits nicely in your hands. It is 3/4 “ Round Self Inking Stamper with Stocked Stamp Image, comes with blank pad. 3/4 “ Round Self Inking Stamper with Stocked Stamp Image, comes with blank dry pad. |
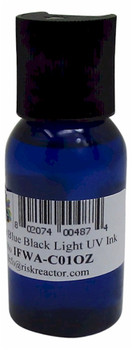
| 1 | IFWA-C01OZ | Two one ounce bottles of black light invisible blue stamping ink. This ink works with any of our black lights which are included with this kit. Two ounces of our invisible fluorescent blue black light ink that goes on clear and shows blue only under long wave black light. |
| 2 | CR123A | Specially made for Risk Reactor Inc.'s black light flashlights this CR123A battery will give you the power you need for your event, club, or project. |
| 1 | MAR-C0 | Invisible Blue UV Marking Pen. Works on almost any surface. Great for manufacturing, retail stores, and the home. Anywhere you need an invisible fluorescent mark. We also carry other inks as well as custom ink formulation just for you. Use with any of our black lights for a perfect portable security solution. Non-refillable. |
Instructions to Change Ink Pad for Self Inking Stamper.
|
|
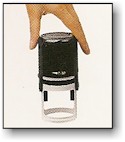
1. Lock the self-inker in the first position by pushing down 1/8" and pressing buttons on the side of the self-inker. |
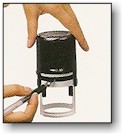
2. Push ink pad out with finger or pen. Remove pad.
|
|
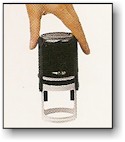
3. Insert new ink pad. Press down and release. |
| 4. Enjoy your stamper! |
|


